
Home -> Welcome
Home page of the back office. On this page, the administrator could find links to the internal pages of the back office application allowing him to handle the website and manage the users.
The functionalities in the back office are divided in categories. The members of the Administrators group have access to all the categories and pages in them. The main (super) administrator can create different back office groups with different permission sets associated with them and assign them to the different user website packages. In such way, when a new user logs in in the back office, he will see the appropriate menus leading to the pages he is allowed to access.
By default WSCreator comes with one back office group created by default "Basic" with permissions to access the important pages to administrate an user store. The administrator can alter the permissions for this groups as well as create other groups with different permissions and use them after that when he creates the website packages.
Home -> Profile
This page could be used by the website administrators to modify their personal information. The initial user information is recorded when the user signs up and creates his store from the Signup page on the front site. Please note that this page isn't available for the main (super) administrator.
Home -> Package
On this page the website administrator can see information for his current package and switch to another package if he wishes. A detailed overview of the store packages and how they could be used in practice can be found in the "Packages" doc file.
Home -> Connections
The administrator could see on this page a report about the connections to the back office application. The unsuccessful logins are displayed in a separate table, for each record the administrator can see the IP address and the date and time of the login attempt.
Home -> Change Password
From this page the administrator and the back office users can change the passwords they use to access their personal administration space.
After the password is modified, the administrator will have to login again with his new username and password.
Users -> Users
The page provides functionality to the main administrator to monitor the users and user created websites and modify the information for them.
Users -> Packages
The website packages provide functionality to define different permission sets for the back office resources for the website administrators (user created stores). This page should be used by the main administrator to manage the available website packages. A detailed overview of the website packages and how they could be used in practice can be found in the "Packages" doc file.
Users -> Payments
On this page the main administrator can monitor the payments done by the store administrators for their stores hosting service. Please note that the payments done by cheques and bank wire should be validated manually. Detailed information can be found in the "Packages" doc file.
Users -> Advertisements
The main administrator can put advertisements on the user created websites. These advertisements can be displayed in 4 zones around the user website. On this page the administrator can manage the advertisements displayed in these 4 zones. Please note that there is a separate doc file describing this functionality - "Advertisements".
Website -> Management
The website -> management page provides functionality to freely edit the website structure (add/remove pages) and content (using WYSIWYG editor or directly modifying the page html).
This page offers functionality to the store administrators to manage their websites structure with simple mouse drag-and-drop movements. For example to add a new page the administrator has to drag the icon for new page to the desired position.
Website -> Management Pro
The Management Pro is by default accessible only to the members of the Administrators group. It provides more functionalities for the website structure and content management compared to the basic drag-and-drop management page. In order to edit the settings of a page (such as its title, meta tags etc.) one should select the page appearing in the site structure tree with a left mouse click. After that one needs to click with the right mouse of the button and a new context menu will appear with multiple options.
Website -> Navigation Menu
WSCreator offers flexible functionality for handling the main front site navigation menu. There are 2 main types of navigation menus:
- Customized (it's possible with them to enter a template which will be used for every link or enter arbitrary html code or image which will be shown for the page's link)
-Standard (these menus are generated automatically according to the website structure defined by the administrator - they are multilevel and the administrator can fully customize their colors and appearance from the Settings link on this page)
Templates -> Select a Template
The page offers the possibility to the administrator to select a template which will be used for the front site between the currently available templates. Please note that in order to be able to select a template for a given website, the administrator needs to add first the template.
For the administrators of the user created stores, this page offers a choice between the predefined user websites templates.
Templates -> Add a New Template
This page can be used to add new templates to the website. The website administrator have a choice to choose between the option to add the template using the WYSIWYG templates editor (which produces simple template) or to directly paste the template html code.
Templates -> Modify
On this page the administrator can see the available templates and modify a selected template. In order to select a template for modification, the administrator should click on the Modify icon and then a new text area having the full template code will appear.
Extensions -> Extension Files
The extensions and custom tags, provide an universal way to expand the WSCreator functionality. The so called extensions represent regular php files which output html code. So one could create a new extension just as writing a standard php file. In order to set this file to be executed on a selected page (and the correspondent content to be rendered) the administrator needs to go to Website->Management, then select a page with a left mouse click and then right click and a new context menu will appear having the different options.
Extensions -> Custom Tags
The difference between a custom tag and an extension is that a custom tag can be plugged in the template's code and then set some extension file to be executed for it. In such way, every time the system finds such a custom tag in the template's html, it will execute the extension file and replace the associated tag with html rendered by the extension file.
Tools -> Image Manager
The image manager could be useful for quick review of the available images on the website (including these uploaded by the users for the car ads). The administrator is able to delete some of the images if he wishes.
Tools -> New Form
The custom server side forms functionality is a standard WSCreator feature allowing the administrator to create and publish on the front site forms (such as contact forms) with custom fields defined by the administrator. Adding a new custom server side form can be done in 2 steps - the first one is to enter the form name and a brief description and the second one is to add the form fields. For every field the administrator should specify its name, type, the text displayed near it, its size and if it's an obligatory field (available only for some of the fields) and the message which will show up if the user leaves empty an obligatory field.
Tools -> Manage the Forms
This page provides functionality to manage the existing custom server side forms. One can assign a form on a page as well as modify the form settings - such as message that will be displayed to the user when he submits the form as well as the email to which the data will be sent and a few others.
The "Posted Data" can be used to view the posted data by the users from the custom server side forms published on the website. Please note that if the administrator has defined also an email to which the posted data should be sent, it will be sent to the email and it will appear on this page.
Statistics -> Reports
The administrator can see multiple statistics info from the pages from the Statistics category in the back office. He could also find pages allowing to check the Google registration status of the pages of the website as well as submit them in Google and a few other popular search engines.
Security -> User Groups
The office offers the possibility to create different back office user groups and users in them and assign different permissions to access the pages in the back office. These groups and the associated permission sets can be used after that when creating the website packages.
Security -> Permissions
The Security->Permissions can be used to modify the permissions for a selected user group. The main administrator has to check the checkboxes of the pages that the members from this group will be allowed to access.
Settings -> Language Versions
By default, WSCreator is a multilanguage solution and can support multiple languages. On this page the administrator can add a new language version or deactivate some of the current ones. Please note that when adding a new language version, one needs also to translate and add the corresponding language file for it.
Settings -> Languages Menu
If the website is multilanguage and a languages menu has to be displayed on the front site, this page can be used to customize this menu. The standard menu is composed by flags - one needs to click on the corresponding flag to switch between the different language versions. The customized menu offers the possibility to enter arbitrary code for every language menu item. So the administrator has in this way the possibility to enter other images or whatever html code (it can be for example the name of the language version etc.)
Settings -> Website Style
From this page the administrator can change some general website style settings such as the default font color, the default links color etc. If the first field on this page "Disable these styles" is set to YES, the styles set on this page won't apply for the website.
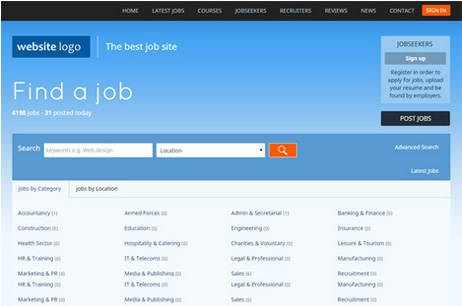
Jobs Portal - Launch easily an online job board with multiple features for the job seekers and employers
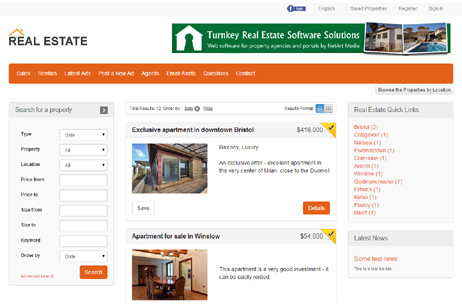
Real Estate Portal - Create an advanced multi-user real estate classifieds website
PHP Mall - Create a multi-vendor online mall allowing the users to sell easily online

Event Portal - Mobile-friendly and multi-user event listing and ticket selling web solution
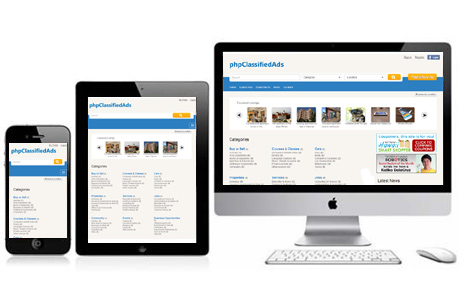
PHP Classified Ads - Add a classifieds section to your site or make a standalone online classified portal

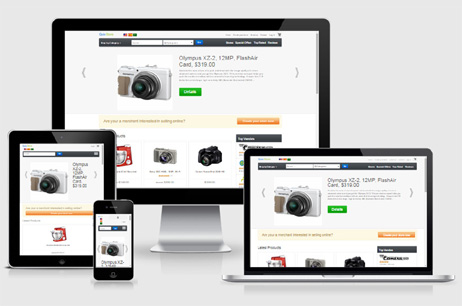
PHP Store - Build an advanced online store and sell your products with ease
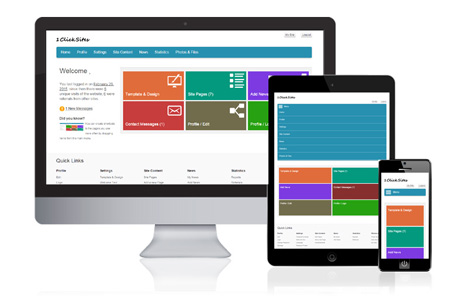
WS Creator - Multi-user automatic website creation and management web solution
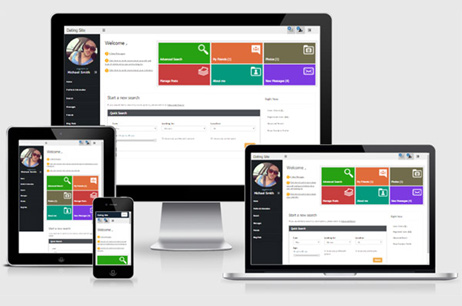
PHP Dating Site - Create an advanced online dating or professionals search website
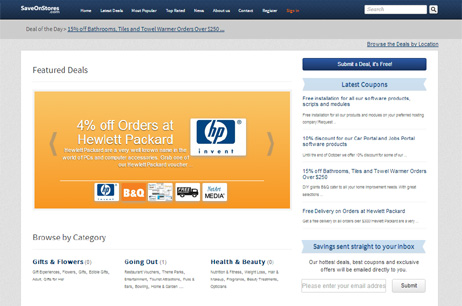
Deals Portal - Launch a multi-user deals and coupon sharing website
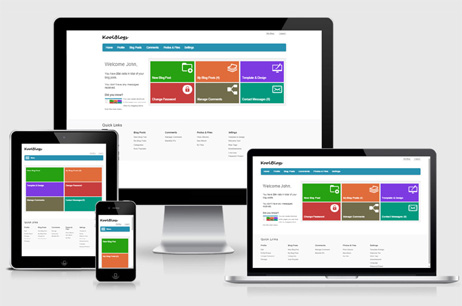
Blog System - Make a blog hosting site or add a multi-user blogs section to your current site
PHP Support Desk - Add a modern help desk system to offer better support to your customers