How to install VisitAnalytics
Installing takes about two minutes and needs no database. You upload one folder, create your administrator account and press one button.
Step by step
- Upload the folder. Unzip the package and upload the
VisitAnalyticsfolder with FTP or your hosting file manager, so that it sits next to your website'sindex.php:public_html/ index.php ← your website VisitAnalytics/ ← the uploaded folder track.php admin/ ...You may rename the folder (for example tostats). The tracking code uses the real folder name automatically. - Give write permission. PHP must be able to write in the
VisitAnalyticsfolder and inVisitAnalytics/data. On most hosts the default permissions (755) are already enough; if the setup complains, set the folders to 775 or 777 for the duration of the setup. - Open the admin panel. Visit
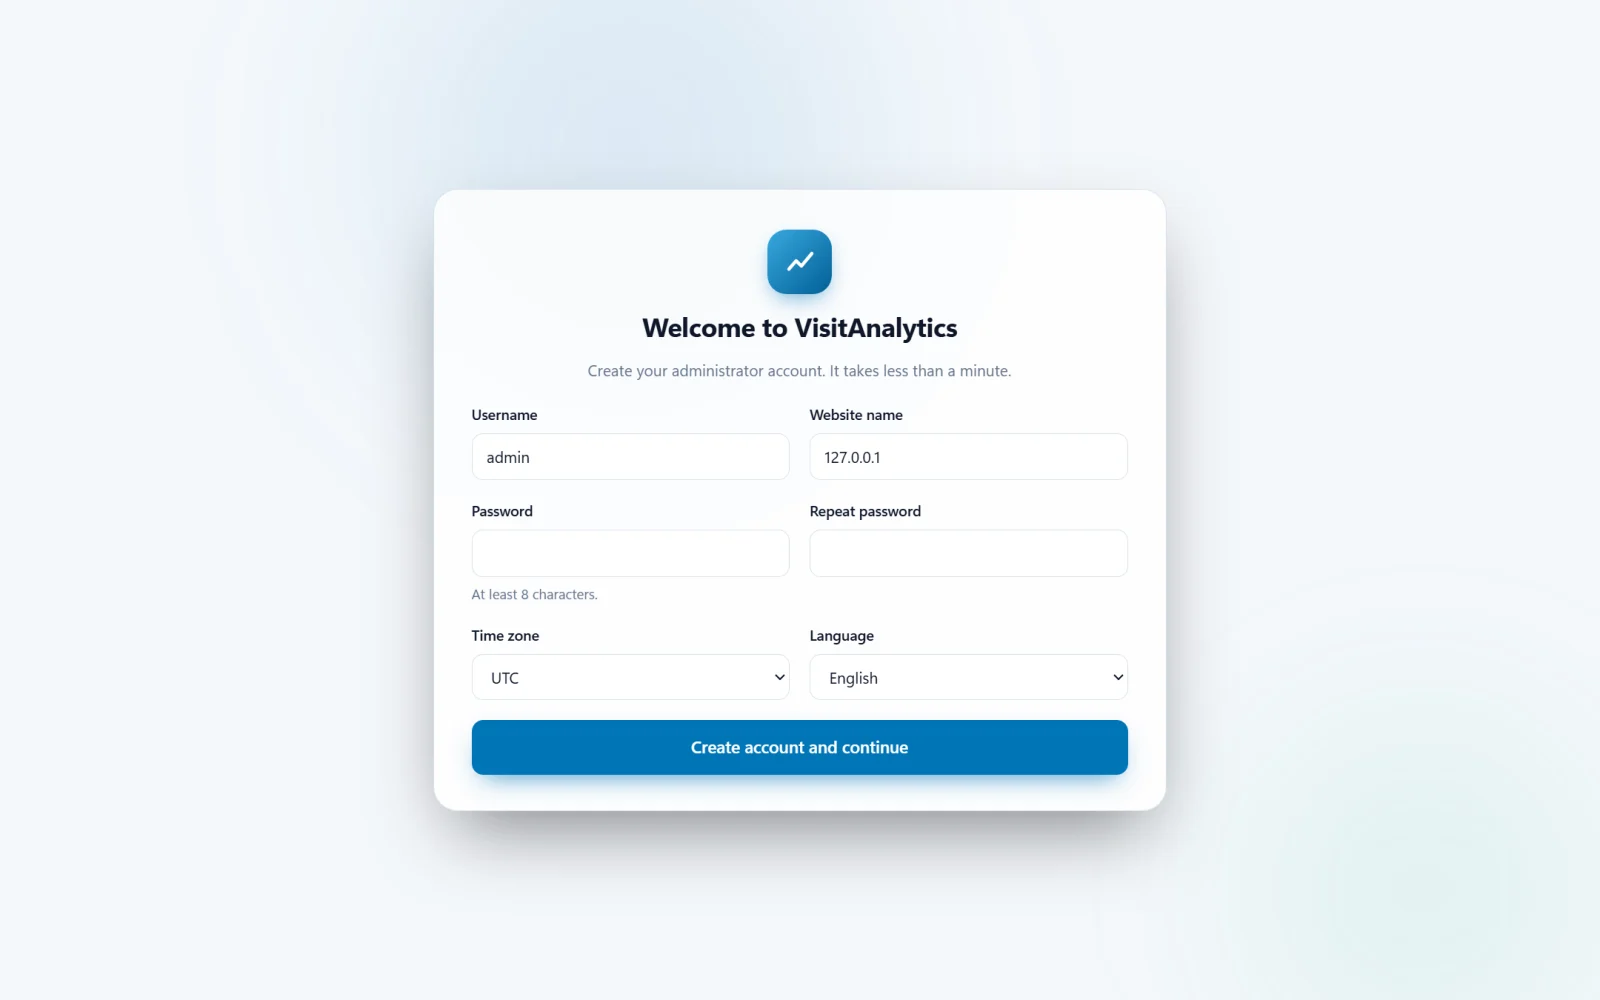
https://your-website.com/VisitAnalytics/admin/in your browser. The The first-time setup wizard appears the first time. - Create your account. Choose a username, a password and your time zone. Press Create account and continue.
- Install the tracking code. The wizard opens Settings → Installation. Press Install tracking code. See How to add the tracking code to your website.
- Test it. Open your website in another browser tab, then look at Real-time. Your visit should appear within seconds.
Tip: Do the setup immediately after uploading. Until the first account exists, whoever opens the admin address first can create it.
Installing in a sub-folder or on a test site
The only rule is that VisitAnalytics sits inside the folder of the website you want to track, because the automatic installer edits a file of the folder above it. If your PHP entry file is somewhere else you can still add the include line by hand – see How to add the tracking code to your website.
Next steps
- Choose your language, date format and week start in General settings: website name, language, time zone and date format.
- Tell VisitAnalytics to ignore your own visits: How to exclude your own IP address and private pages from statistics.
- Decide on privacy options: Privacy settings: anonymize IP addresses, Do Not Track and data retention.
Last updated