First steps: configure your marketplace
After installation work through this list. Every step takes a few minutes, and the admin dashboard also shows reminders for the most important ones.
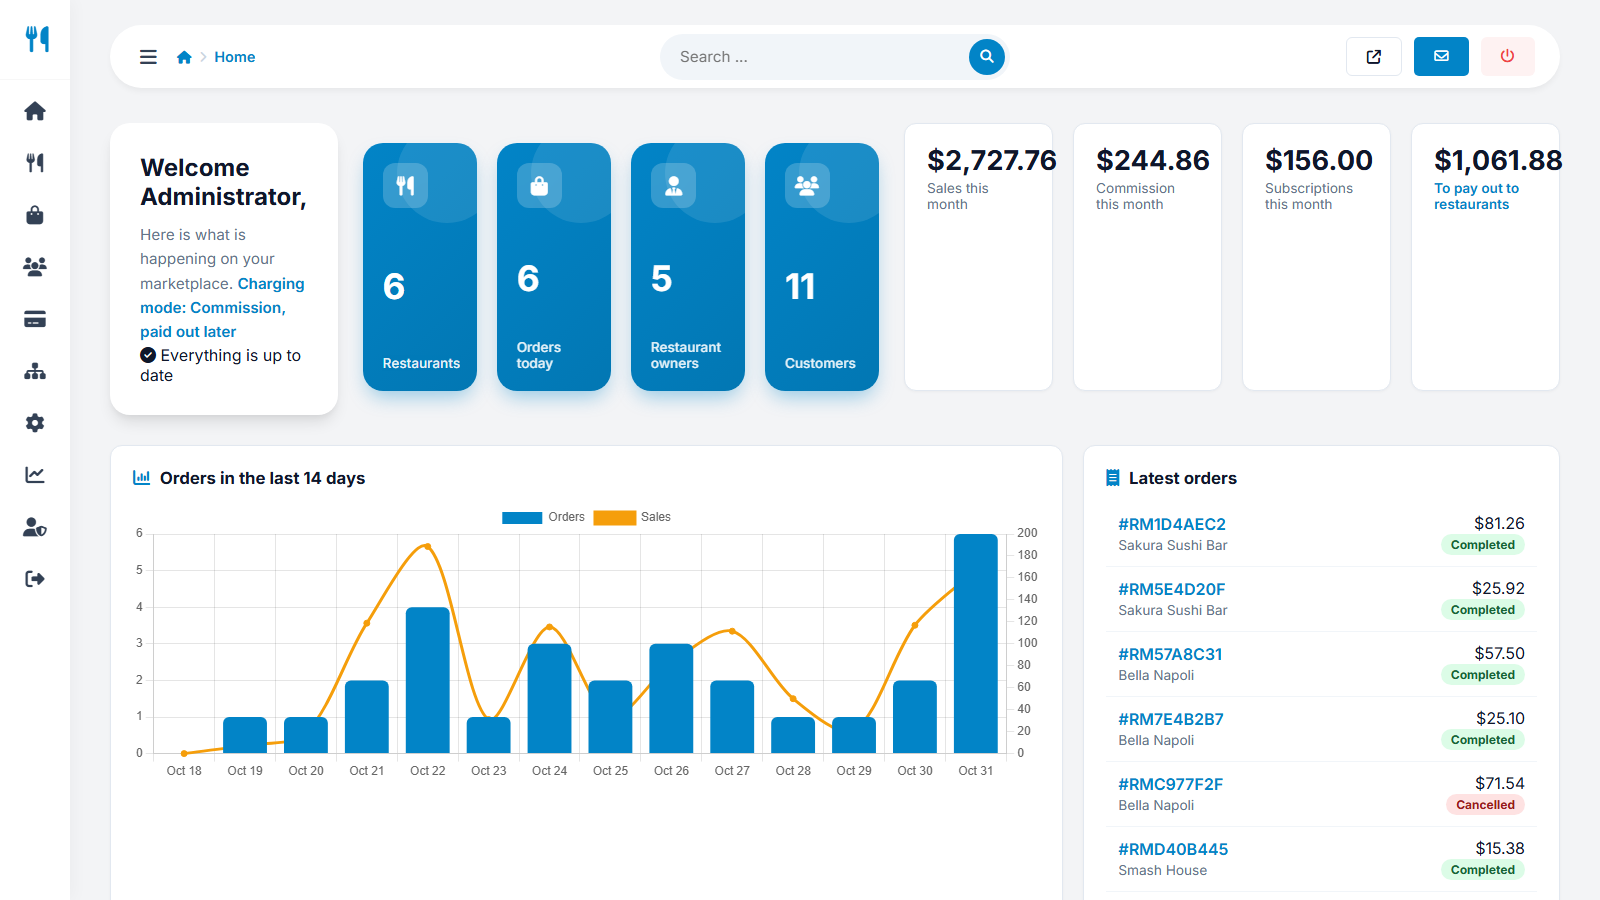
- General settings. In Settings → Configuration options set the site name, company name, administrator e-mail, time zone and default language. See configuration options.
- Logo and favicon. Upload them in Website → Logo and favicon.
- E-mail sending. Turn on SMTP in the same settings page and press Save and send test e-mail. Order, booking and password-reset e-mails depend on it.
- Currency. In Payments → Payment settings enter your 3-letter currency code (USD, EUR, GBP...).
- Choose how you earn. Select one of the three charging modes and set your commission or your listing plans.
- Connect payments. Add your Stripe and/or PayPal keys, or keep cash payments only.
- Switch on AI. Paste an API key in Settings → Artificial intelligence - see AI settings.
- Cuisines and locations. Review the cuisines and the locations list in Restaurants → Cuisines / Locations.
- Pages, FAQ and blog. Edit About us, Terms and Privacy policy in Website → Pages.
- Languages. Enable multi language if you offer several languages - see languages.
- SEO and tracking. Add your Google Analytics ID in SEO and tracking, and enable SEO URLs when mod_rewrite works.
- Test the whole flow. Register a test restaurant, add a dish, place a cash order as a customer and process it in the owner panel.
- Go live. Turn on Allow restaurants to register and tell restaurants about your marketplace.
Use the demo data of the installer to look around, then remove the demo restaurants in Restaurants → All restaurants before you launch.
Last updated